


Introduction
In this turorial, you will learn how to create a server with the pgAdmin interface.
Register Server
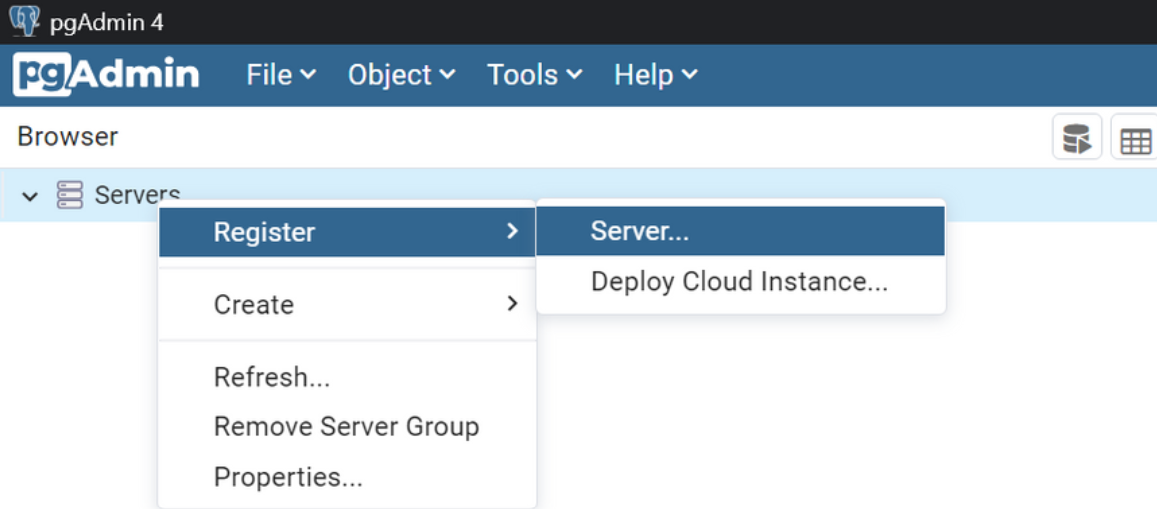
First, we right-click on the servers node and select Register > Server.
General Configuration
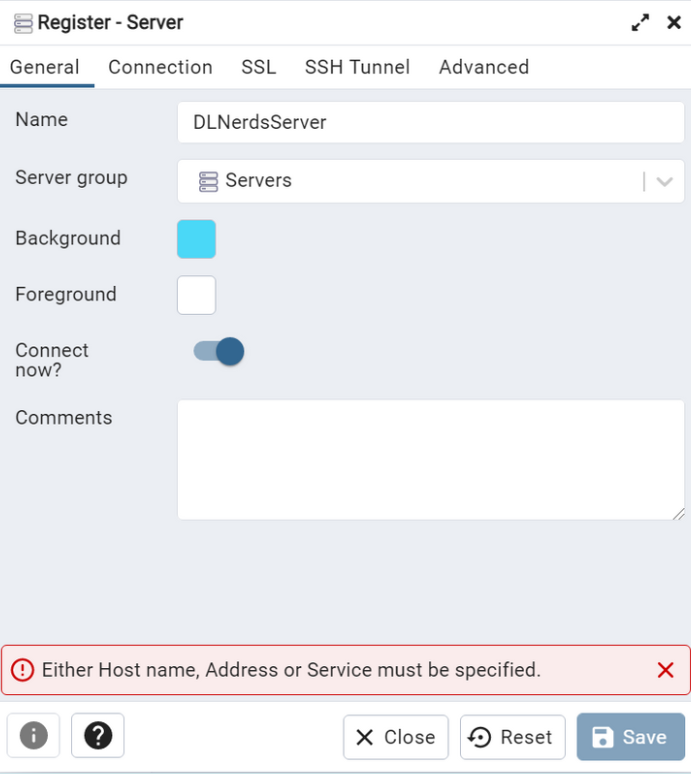
Next, we enter a name for the server. We choose DLNerdsServer as the name for the server. We also choose a background color and a foreground color.
Connection Configirations
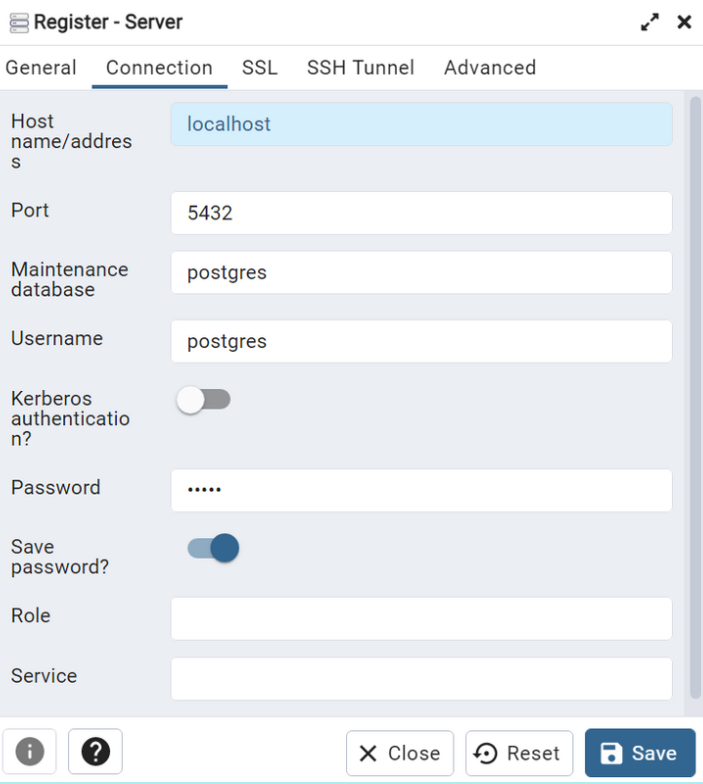
Now, we enter localhost as hostname. The port is set to 5432 by default. We enter the password and save the configurations.
Registered Server
You can find the registered server below the server group. By default, a database is also created.
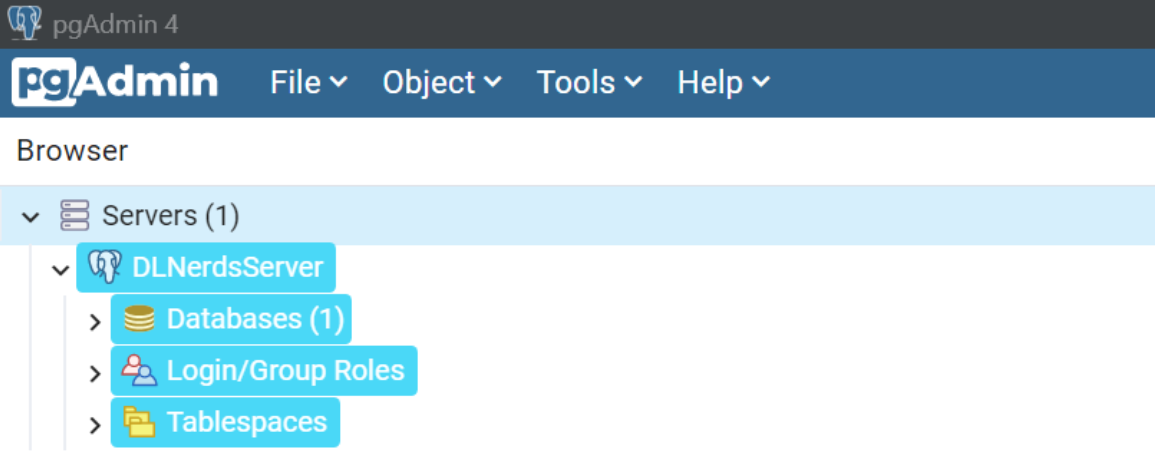
Now the server is ready to use.
Conclusion
Congratulations! Now you are one step closer to become an AI Expert. You have seen that it is very easy to create a new server with the pgAdmin interface. Try it yourself!
Also check out our Instagram page. We appreciate your like or comment. Feel free to share this post with your friends.